Sometimes, after a shoot is done and all the photos have been edited, I like to play around with what’s left and create something new.
This week, I took inspiration from the engagement shoot as well as from my own wedding coming up in twelve days. With the help of an online tutorial, I dove deep into Photoshop and transformed a standard shot into a (classy) romance novel cover.
MATERIALS USED:
Nikon D7100
Nikon 18-200mm lens
Adobe Lightroom (first edit)
Adobe Photoshop (second edit)
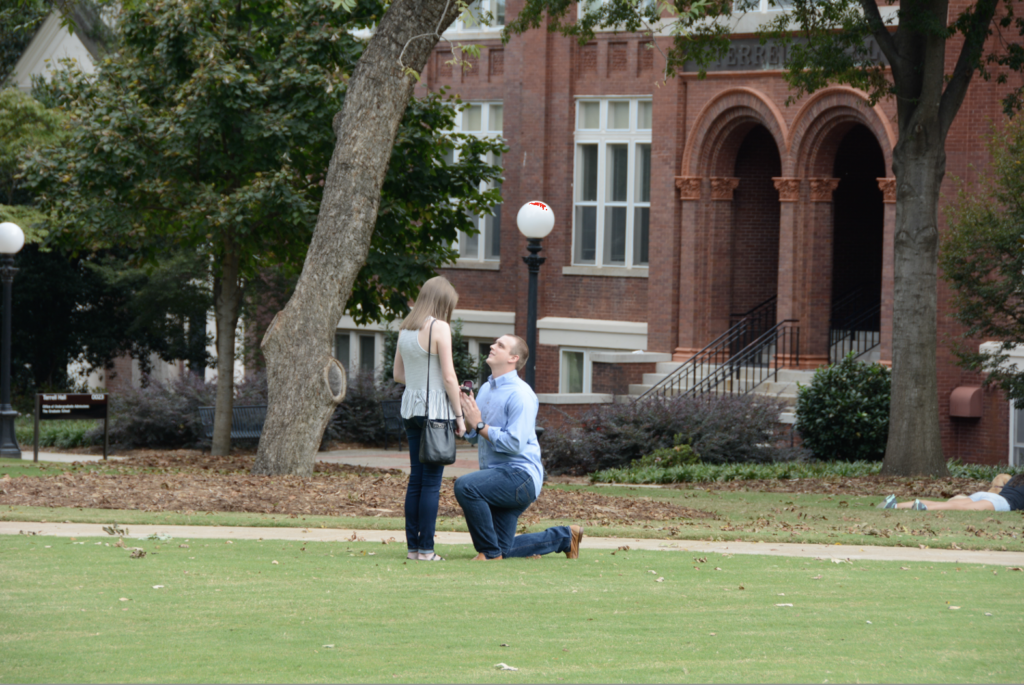
1: THE ORIGINAL PHOTOGRAPH
This photo inspires mixed feelings for me. From a technical aspect, there are some things that I would change. Given a choice, I would have loved to be closer, take some time on the composition, and shoot with my 50mm prime lens. Instead, I used my old reliable 18-200mm for distance and speed—essential when hiding in a tree.
I had to be fast on this shot. Dan didn’t take long before his knee hit the ground and it was go time. Anyone who has ever shot proposals can speak to the pure adrenaline that goes something like, “THIS IS THE MOST IMPORTANT MOMENT OF THEIR LIVES, DON’T SCREW UP.”
Anyway, I got the shot. Correctly exposed, although the background was wack (check the girl’s butt and legs featured on the right edge). Not to worry, these are easy fixes in Lightroom!
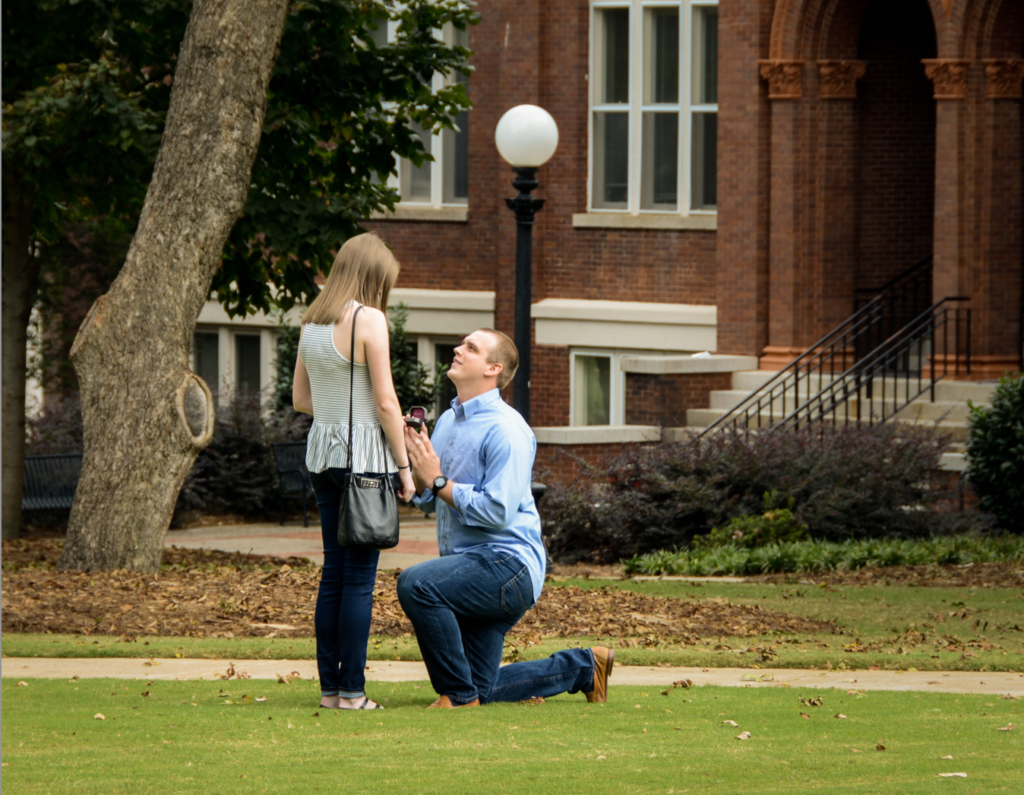
2: THE LIGHTROOM EDIT
Lightroom is a dream. Lately (for the past year or two), I’ve gravitated towards the warmer end on color composition, and I am LOVING radial filters. My former photojournalism professor would tell me to keep it as realistic and unaltered as possible, but I’m a sucker for a little dreamy vignette.
My favorite feature of Lightroom’s is the batch edit feature, which enabled me to get the kind of shot-to-shot color consistency I could never manage in Photoshop.
I’m much happier with this version than I am with the original. Plus, the client’s fiancee shared it on her Instagram, so I think they like it too.
3: THE PHOTOSHOP DREAMSCAPE
Photoshop is like taking an older lover—there are hidden depths and mysteries you never saw coming. For those experienced with the software, today I learned new ways to use the fill feature, especially the content-aware fill. Holy MOLY. I’d been trying to manually disappear objects from images with nothing but the clone stamp for years.
I did my best to follow the YouTube tutorial faithfully, however, I used separate methods on two steps. First, I thought the way the artist manually painted on the vignette was sloppy and instead prefer a combination of oval selection shape + high feathering + lowered brightness. Second, her use of the pen tool to separate the person from the background seems like a strange choice. Granted, I’m woefully inept with the pen tool, but a more nuanced selection mask with manual edge alteration seemed like a better way to capture detail.
Did you know that Photoshop can automatically do bokeh? It works best if your background has a lot of bright or dappled lighting, which mine did not, so I added it manually. But still, this is definitely a feature I will use in the future.
I’m very happy with the way this turned out, although following the suggested dodging/burning on the subjects made them look nothing like themselves in the end. This style is definitely cheesy and very early 00’s, but I love it and will probably do this again sometime.
Cheers, Photoshop—you magnificent beast.